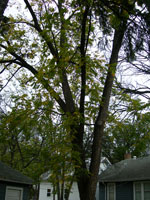
Our neighbor has a walnut tree in their backyard. Every fall the nuts drop in the alley and everywhere. This year I decided to try making walnut liquor (not a tasty treat) to use for dyeing fabrics. This is a picture of my neighbors walnut tree and the nuts laying on the ground. The nuts look kind of like golf ball size green apples.
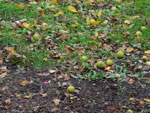
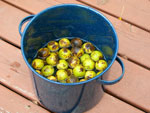
I gathered a bunch of the nuts that had fallen in the alley and put them in a bucket of water to soak. This softens the husk for peeling.
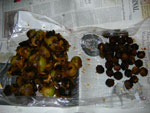
After soaking about a day, I separated the husks from the nuts. The husk is the part that has the dye in it. The peeled husks are on the left in the photo and the nuts in the shell are on the right.
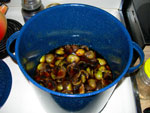
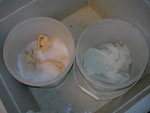
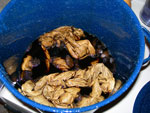
I then cooked the husks in water. While they were cooking, I prepared some fabric for dyeing. One fabric as white and one was cream colored. The fabric is soaking in soda ash and alum to make it accept the dye better. At this point you can add things like rusty metal to the bath to get color variations. Then the fabric is cooked in the walnut dye bath (or otherwise known as walnut liquor) until the desired effect takes place. When I was done dyeing this fabric I poured the walnut juice into a couple of quart jars. From what I understand this can be kept indefinitely. If mold grows on top, just skim it off before you use it again.
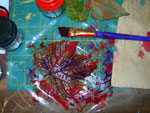
The next thing to do was decide what to do with my dyed fabric. It turned out to be a nice soft brown/tan color. Then I went into our backyard and collected some grape leaves. It painted the back of the leaves (where all the veins are) with fabric paint, then stamped the leaves onto my dyed fabric.
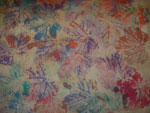
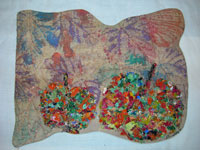
Here is a picture of a finished project using the above fabric. I embellished some other leaves made up of tiny scraps of fabric and quilted the stamped leaves with a metallic thread. The finished size is about 7″x11″
